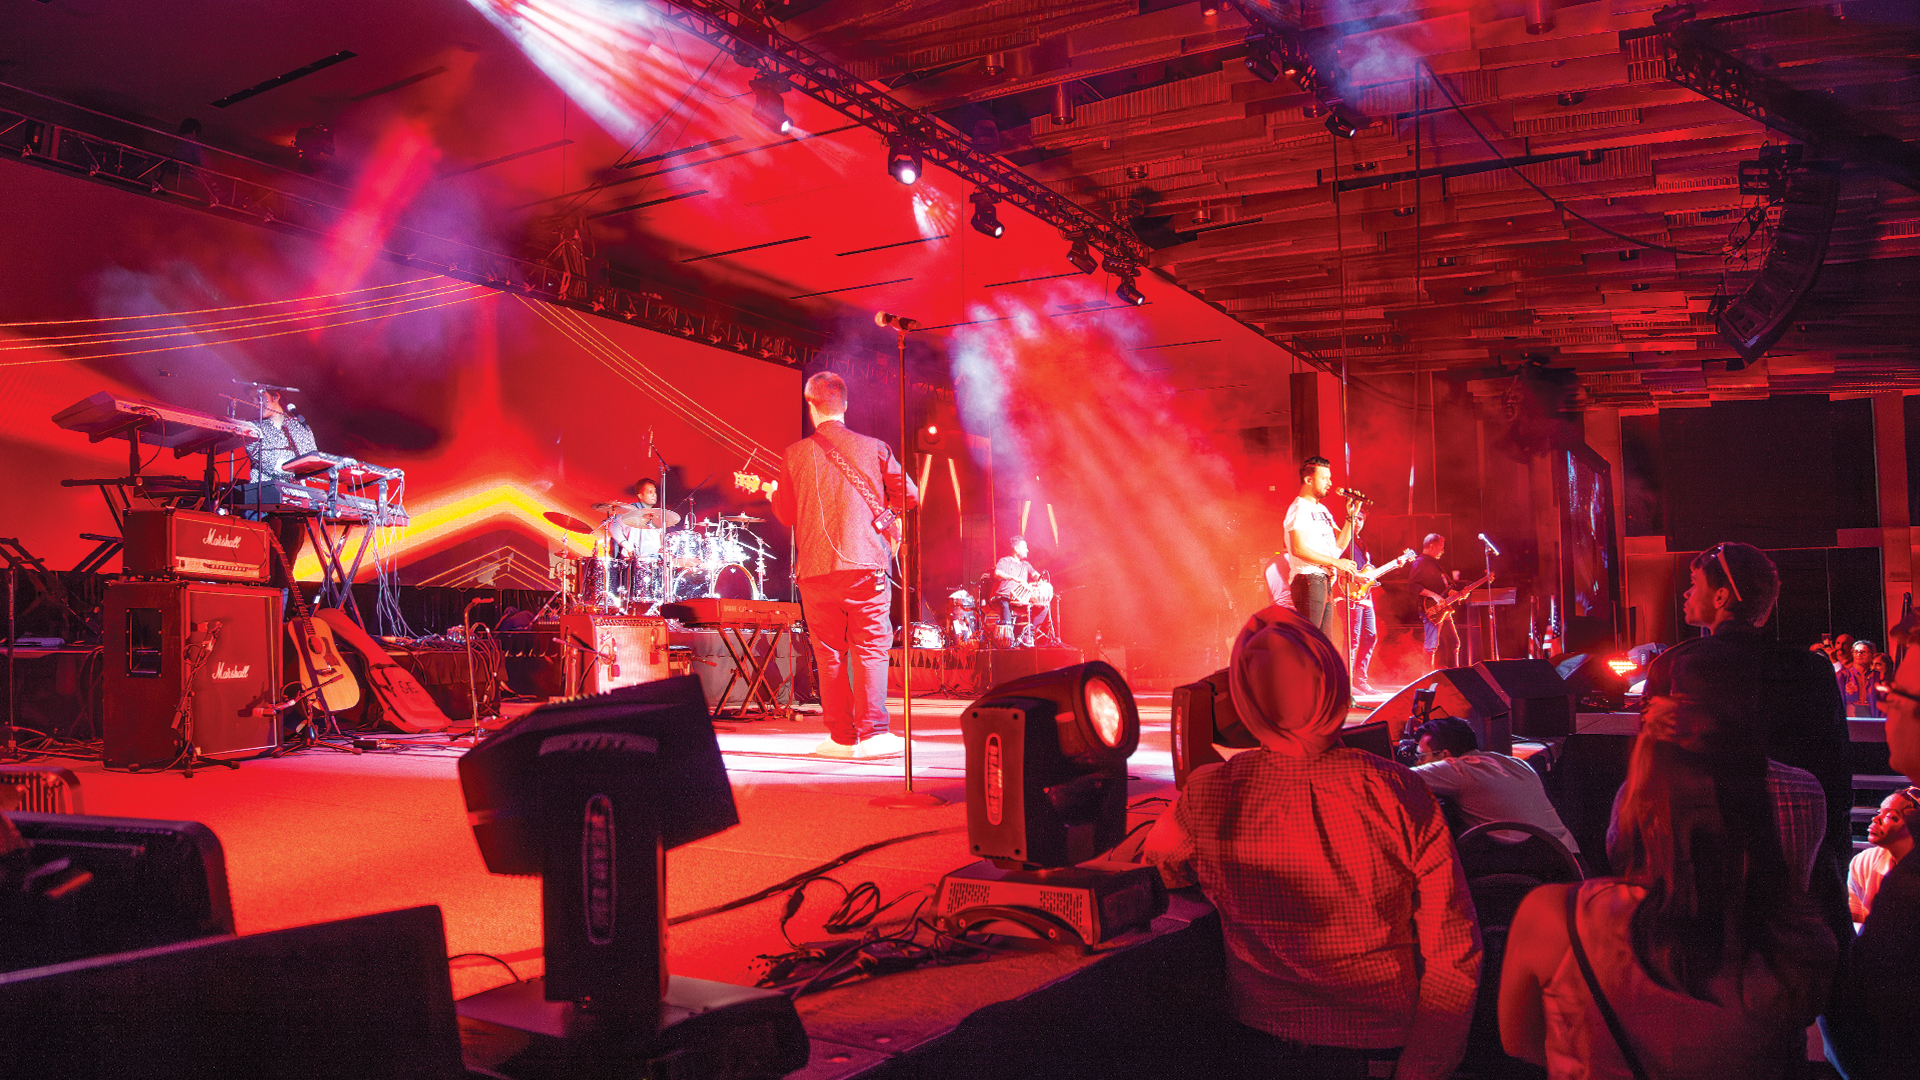
Few elements in theatrical and live event lighting carry the visual weight of a well-designed custom gobo. A single steel or glass gobo projected through a Source Four or a Robe 300 can transform a bare stage into a cathedral, a forest, or an abstract landscape with an immediacy and warmth that no video projection can replicate. Behind that projected image, however, is a design-and-fabrication workflow that blends graphic design, metallurgy, and optical physics in ways that surprise most people outside the lighting industry.
A Brief History of the Gobo
The word ‘gobo’ itself has contested origins — most commonly attributed to ‘goes between’, describing its role between the lamp and the lens in an early ellipsoidal fixture. Early gobos in the 1960s and 70s were rudimentary — metal plates with hand-cut patterns, used mainly for texture projection in theatre. The arrival of laser-cut steel gobos in the 1980s transformed the medium, enabling intricate designs with tolerances impossible to achieve by hand. By the 1990s, glass gobos with photographic image quality had entered the market, with companies like GAM Products, Rosco, and DHA Lighting (now part of Lee Filters) establishing the fabrication standards the industry still operates by.
Steel vs Glass: The First Design Decision
The choice between steel and glass gobos defines the entire design workflow. Steel gobos work through negative space — the pattern is what’s cut away, and light passes through the gaps. This means any design intended for steel must be structurally connected: isolated elements like the centres of letters (‘O’, ‘A’, ‘B’) require bridges — narrow connecting strips that hold the steel together. Experienced gobo designers learn to incorporate bridges as a design element rather than a compromise, using them to create stencil aesthetics that define the steel gobo’s characteristic look.
Glass gobos, by contrast, use a photographic emulsion or dichroic coating process to render continuous-tone images, text without bridges, and multi-colour patterns impossible in steel. The trade-off is heat sensitivity — glass gobos have a maximum operating temperature and will crack if pushed beyond their thermal limits in high-output fixtures. Borosilicate glass construction has extended their durability, but glass gobos in a 750W Source Four still require more careful fixture management than their steel counterparts.
The Design Process: From Concept to Vector File
Custom gobo design begins in a vector graphics application — Adobe Illustrator is the near-universal industry standard. Raster images from Photoshop must be vectorised before submission, either manually or using Image Trace with careful review of the resulting paths. Fabricators require files in .ai or .eps format with outlines converted and no embedded fonts.
For steel gobos, the design must be checked against specific structural rules: minimum bridge width (typically 0.8mm for standard fixtures, wider for high-output units), maximum open area percentage (too much removed steel weakens the disc structurally), and correct sizing for the target fixture’s gobo slot diameter. A Size A gobo for an ETC Source Four measures 100mm outer diameter with an image area of approximately 86mm; a Size B for smaller fixtures measures 66mm. Submitting the wrong size loses you a week of fabrication time.
Working With Fabricators: GAM, Rosco, and Beyond
The leading custom gobo fabricators — GAM Products in Los Angeles, Rosco Laboratories in Stamford CT and UK, and Apollo Design Technology in Fort Wayne — each have slightly different template specifications and turnaround times. Standard laser-cut steel gobos typically take 5–7 business days from approved artwork; rush services can compress this to 48–72 hours at a premium. Glass gobo fabrication, particularly multi-colour dichroic glass gobos, often requires 10–14 business days and a minimum quantity order.
Submitting artwork for fabricator review is not the final step — it’s the beginning of a dialogue. Professional fabricators will mark up submitted designs with notes about structural weaknesses, bridges needed, areas at risk of breakage, or elements that won’t resolve clearly at projection size. Treat this feedback as expert consultation rather than obstacle. A gobo that’s been structurally optimised by an experienced fabricator will project more cleanly and last longer in the rig.
Projection Testing: The Reality Check
Gobo design has an uncomfortable truth: what looks stunning on screen may disappoint on stage. Projection size, fixture beam angle, throw distance, and the interaction with colour gels all transform the final image in ways that a monitor can’t predict. Professional designers invest in pre-production projection tests with the actual fixture and lens combination specified for the show — an ETC Source Four with a 25-degree lens at eight metres throws a very different image than the same fixture with a 36-degree lens at four metres.
For touring shows with multiple moving light gobos — Robe BMFL Spot, Martin MAC Viper Profile, or Claypaky Sharpy Plus — the gobo wheel index and rotation speed become part of the design language. Patterns that work statically may strobe unattractively when rotated, while designs with radial symmetry often gain energy from rotation. Testing with the actual moving fixture before finalising a custom gobo order saves expensive re-fabrication runs.
Integration With the LD Workflow
The custom gobo design workflow should be integrated into the pre-production schedule no later than six weeks before the first technical rehearsal, accounting for approval iterations, fabrication time, and shipping. Lighting designers working in Vectorworks Spotlight or WYSIWYG can import gobo image files directly into their visualisation software for preliminary testing — a step that catches fundamental design issues before a physical disc is manufactured. The final production truth, however, remains what appears when light passes through steel or glass and lands on a physical surface.